How it works
From install to shop-floor job in five steps.
Everything happens on your own storefront, and PrintKit never touches your customers' payments. There are two ways to run it — as the PrintKit app on Shopify, or on any other website with a one-line snippet. The five steps are the same either way; only steps 1 and 3 differ.
Path A — the PrintKit Shopify app
Install and pick your builders
Add PrintKit from the Shopify App Store like any other app, then open Plan & billing and switch on only the builders your shop runs. Nothing else in your store changes.
Configure your products
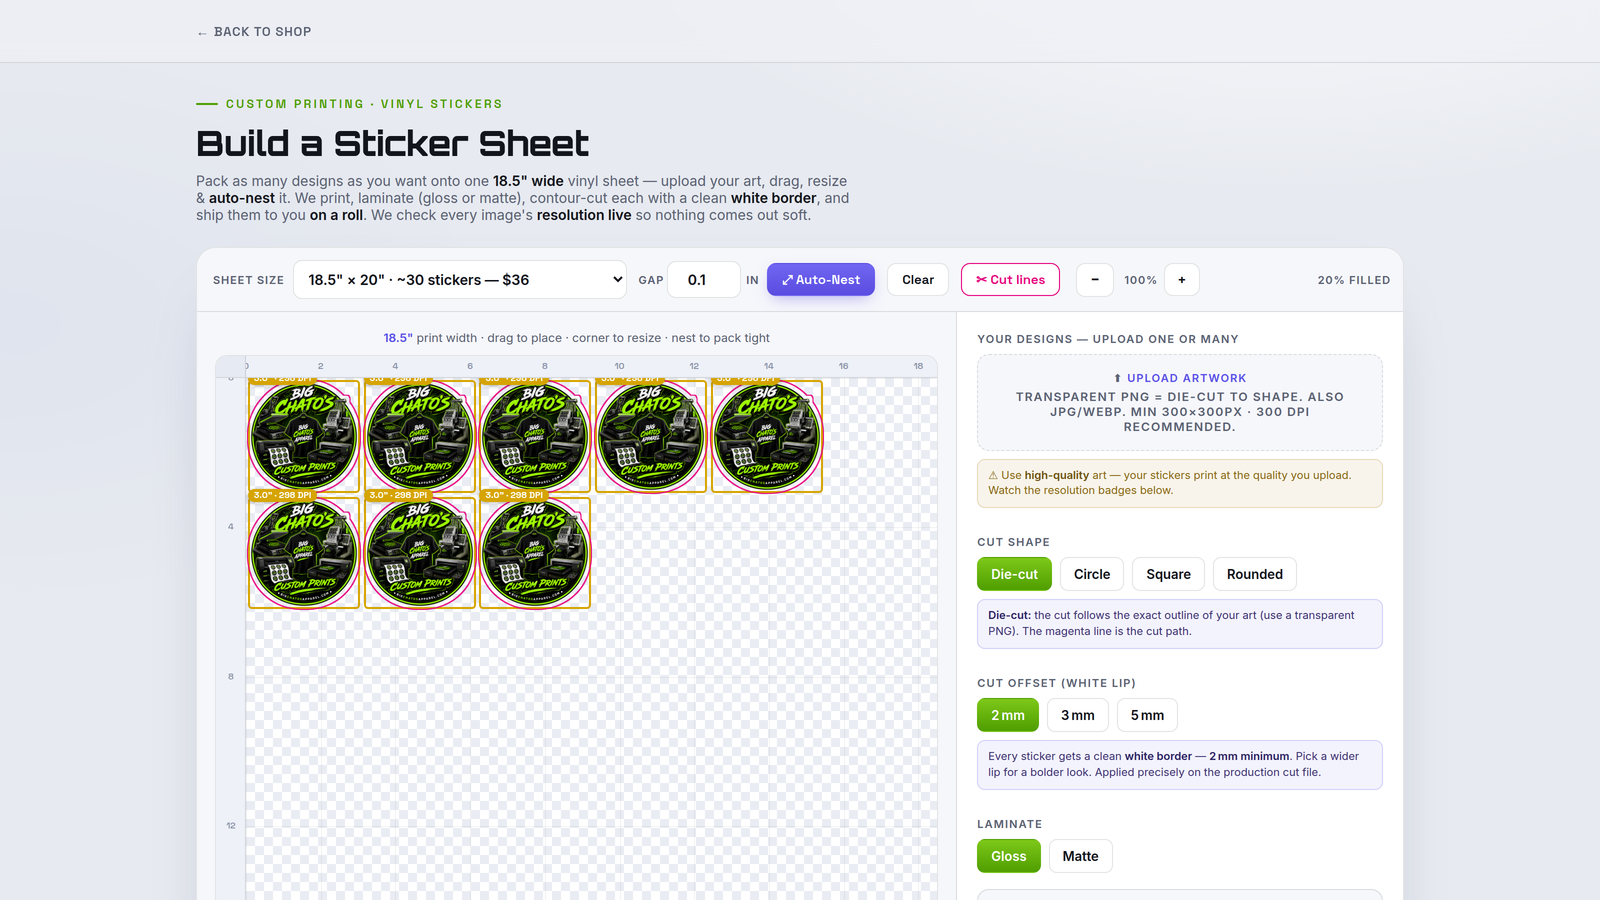
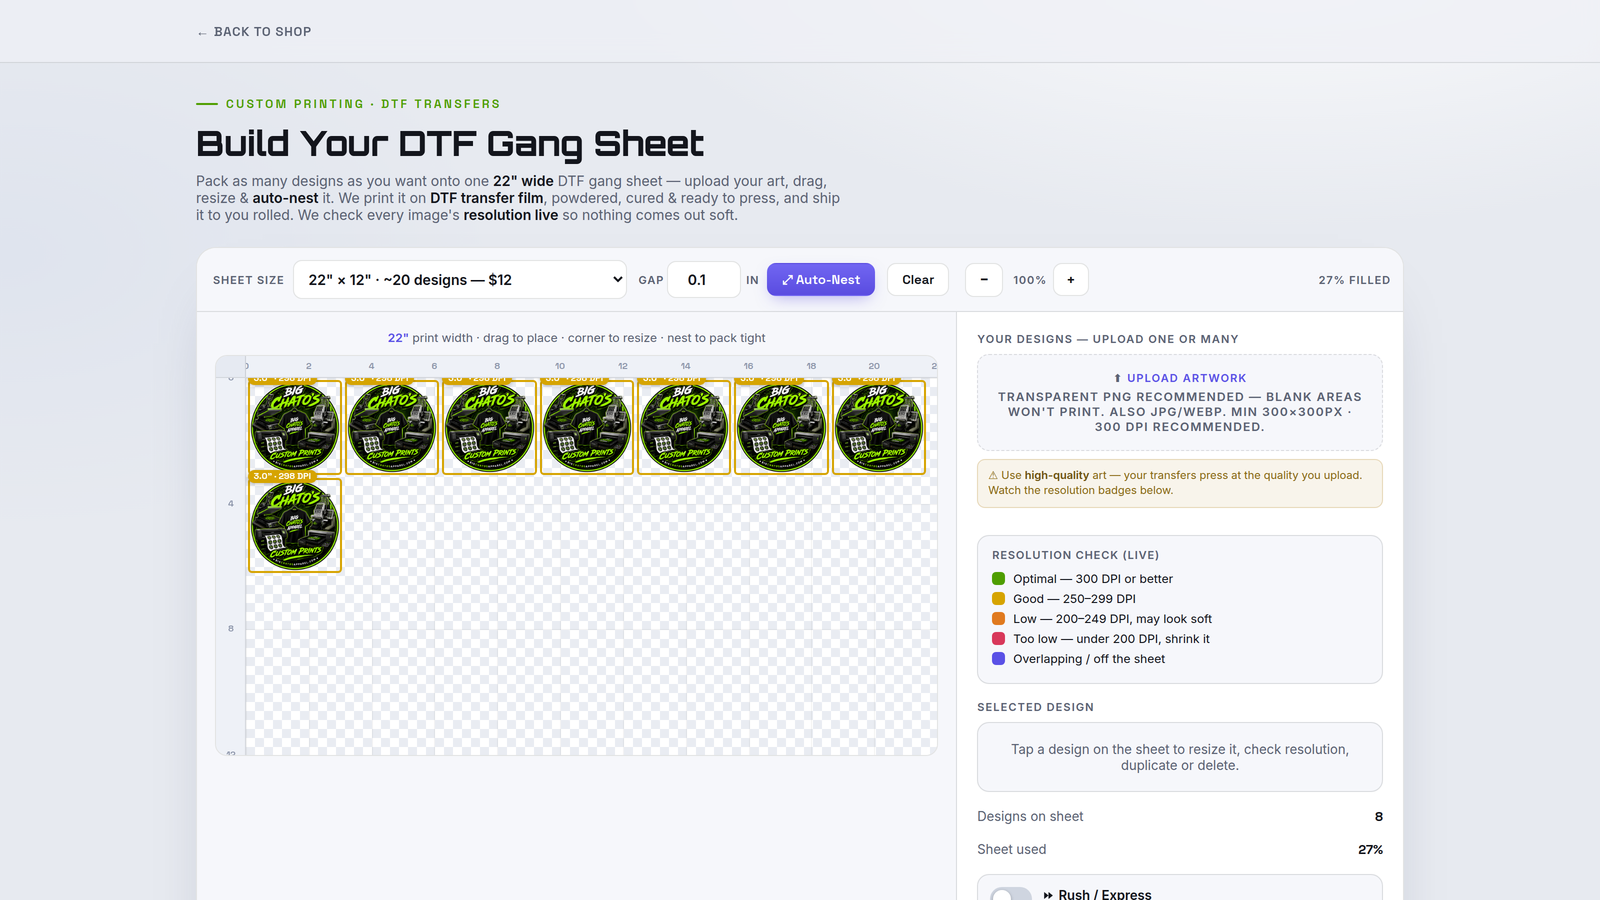
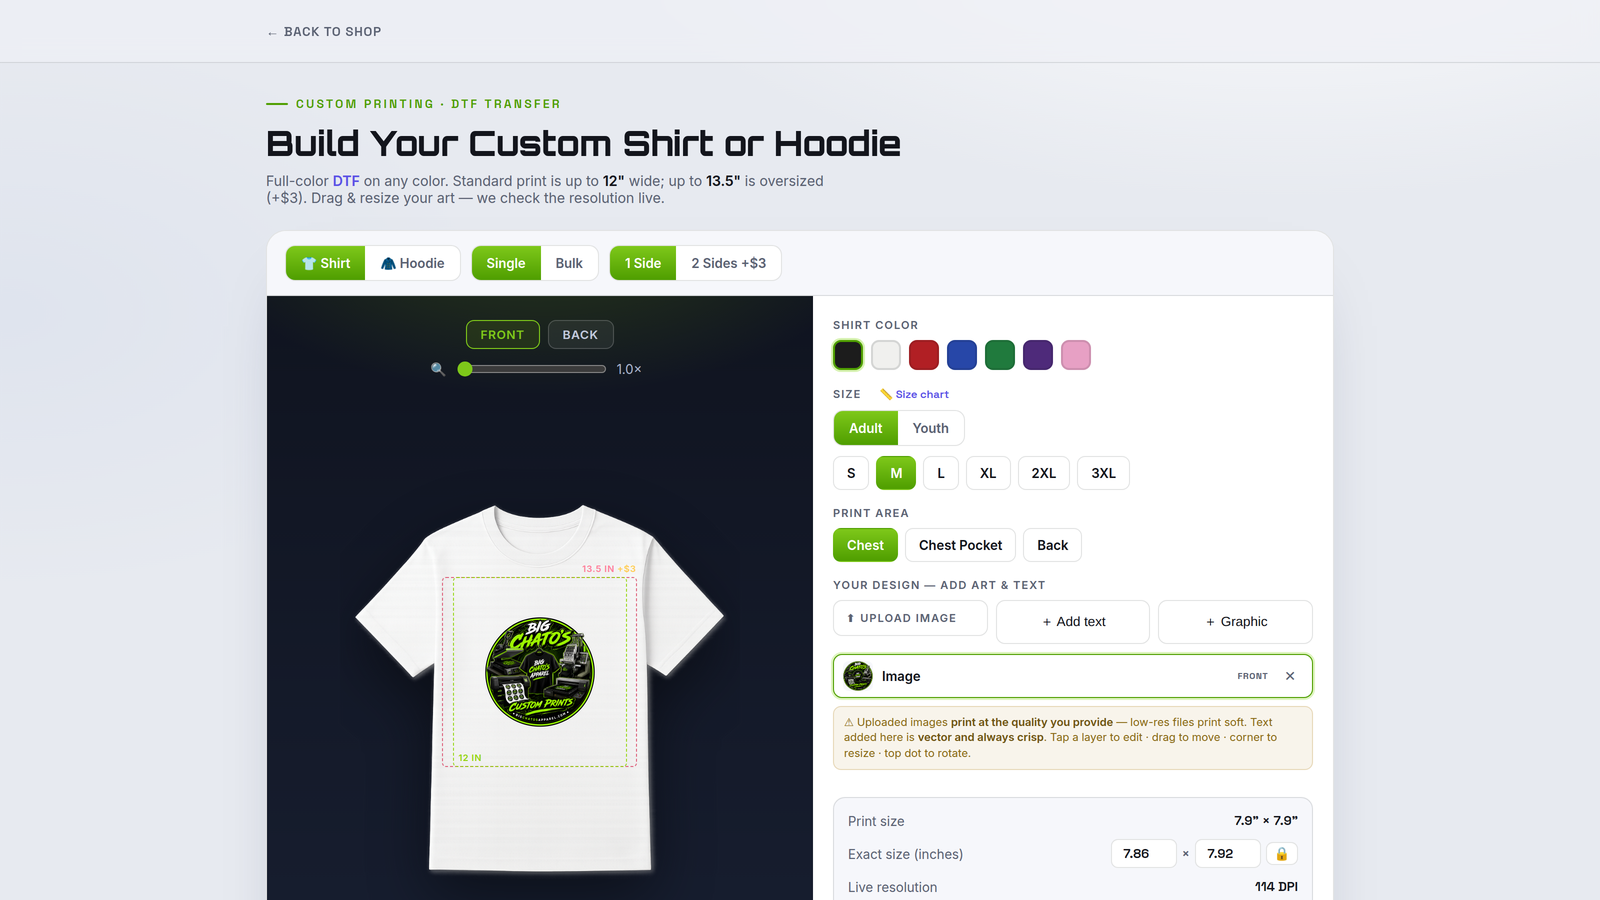
Set your colors, sizes, print areas, roll widths, cut lines and pricing with point-and-click editors — no code and no design software.
Add the builder to your storefront
Drop a builder onto any product page from the Shopify theme editor — the same place you edit the rest of your store. It matches your store's look and works on desktop and mobile.
A shopper designs and checks out
Your customer builds their product live, watches the price update, and checks out through your own Shopify checkout. PrintKit never touches card data.
You get everything to produce it
The order arrives with a print-ready file at up to 300 DPI, a shop-floor work ticket, and a one-click Production Pack.
Path B — PrintKit on any other website
WooCommerce, Wix, Squarespace, BigCommerce, Webflow or plain HTML. Same builders, same print files — a different way in and out.
Create your account and run setup
Sign up at app.printkit.tech and confirm your email — your 14-day free trial starts there. A three-step wizard covers your shop name and brand, your machines and print widths, and your shop-wide settings.
Turn on your builders and set your pricing
Open Config, switch on the builders your shop runs, then set your products, colors, sizes, print areas and prices. Whatever you save is the single source of truth: the storefront builder and PrintKit's server both read the same saved config, so what a shopper is shown always matches what they are charged.
Paste one line onto your page
Your dashboard shows a ready-to-copy snippet carrying your own publishable key — a public key, safe to paste anywhere. Drop it into any page using your platform's HTML or embed block.
<script async src="https://app.printkit.tech/embed.js"
data-printkit-key="pk_live_your_key"
data-builder="shirts"></script>
One tag per builder — change data-builder to stickers, dtf-transfers, uv-roll, uv-substrate or embroidery.
[printkit_builder] shortcode or block. The finished design then drops straight into your normal WooCommerce cart, priced by the PrintKit server to the cent, and your customer pays the way all your other customers pay.
A shopper designs and orders
On WooCommerce, the design goes into your cart and through your own checkout. Everywhere else, the finished design arrives in your PrintKit portal as a quote with the print-ready file already attached, and you collect payment however you already do.
You get everything to produce it
Exactly as on Shopify: the print-ready file, the work ticket and the Production Pack. The portal is also a progressive web app, so you can install it on your phone or desktop.
What is the same either way
- The builders are identical. Same seven, same options, same live resolution check.
- The print file is identical — press-sized, up to 300 DPI, resolution-checked at upload.
- The work ticket and Production Pack are identical, and the ticket has its own language setting so your bench can read it in Spanish.
- Pricing is identical — $19/month for your first builder, +$12/month for each additional, on either edition.
- Payments stay yours. PrintKit never touches card data on either path.